Fargo ND Pole Barn Framing | Columns, Girts, Purlins & Engineered Trusses
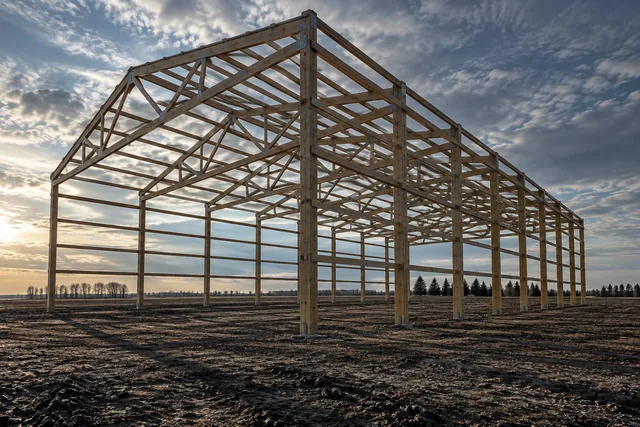
Post-frame framing across the Red River Valley: columns, girts, purlins and engineered trusses assembled to the connection schedule rather than by habit. The timber is rarely what fails. The connections are, which is why the schedule is followed rather than approximated. Fargo ND Pole Barn Builders covers both sides of the Red River, in Cass and Clay counties.
Get a quote on your building
Tell us the size, the use and where the site is. We will come back with a scope and a price, not a brochure.
Fargo ND Pole Barn Framing
A frame is only as good as its connections
The timber in a post-frame building is rarely what fails. The connections are. A truss sitting on a column is held there by a bracket and a specified pattern of fasteners, and that assembly is what resists the uplift trying to take the roof off in a prairie wind.
Which is why the connection schedule is not advisory. Substituting a smaller tie, or fixing with whatever is in the pouch, changes the capacity of the building in a way that is invisible until the day it matters.
- Columns plumbed both ways and strung
Not eyeballed. Set on a string line with a level on two faces, then braced.
- Purlins on edge
Laid flat they lose most of their stiffness. On edge, lapped or hung, they carry the roof properly.
- Girts sized for cladding and insulation
Depth chosen for what the cavity has to hold, not just what the panel needs to be screwed to.
- Connections to the schedule
Specified brackets and fastener patterns at every bearing, fitted as the frame goes up.
The roof steel is structure, not cladding
In a post-frame building the screwed-down roof panel forms a diaphragm that carries lateral load from wind and, on some designs, contributes to the stability of the whole frame. That is why the fastener pattern on a roof panel is specified rather than left to judgement, and why replacing a roof on an older building is a structural operation rather than a cosmetic one.
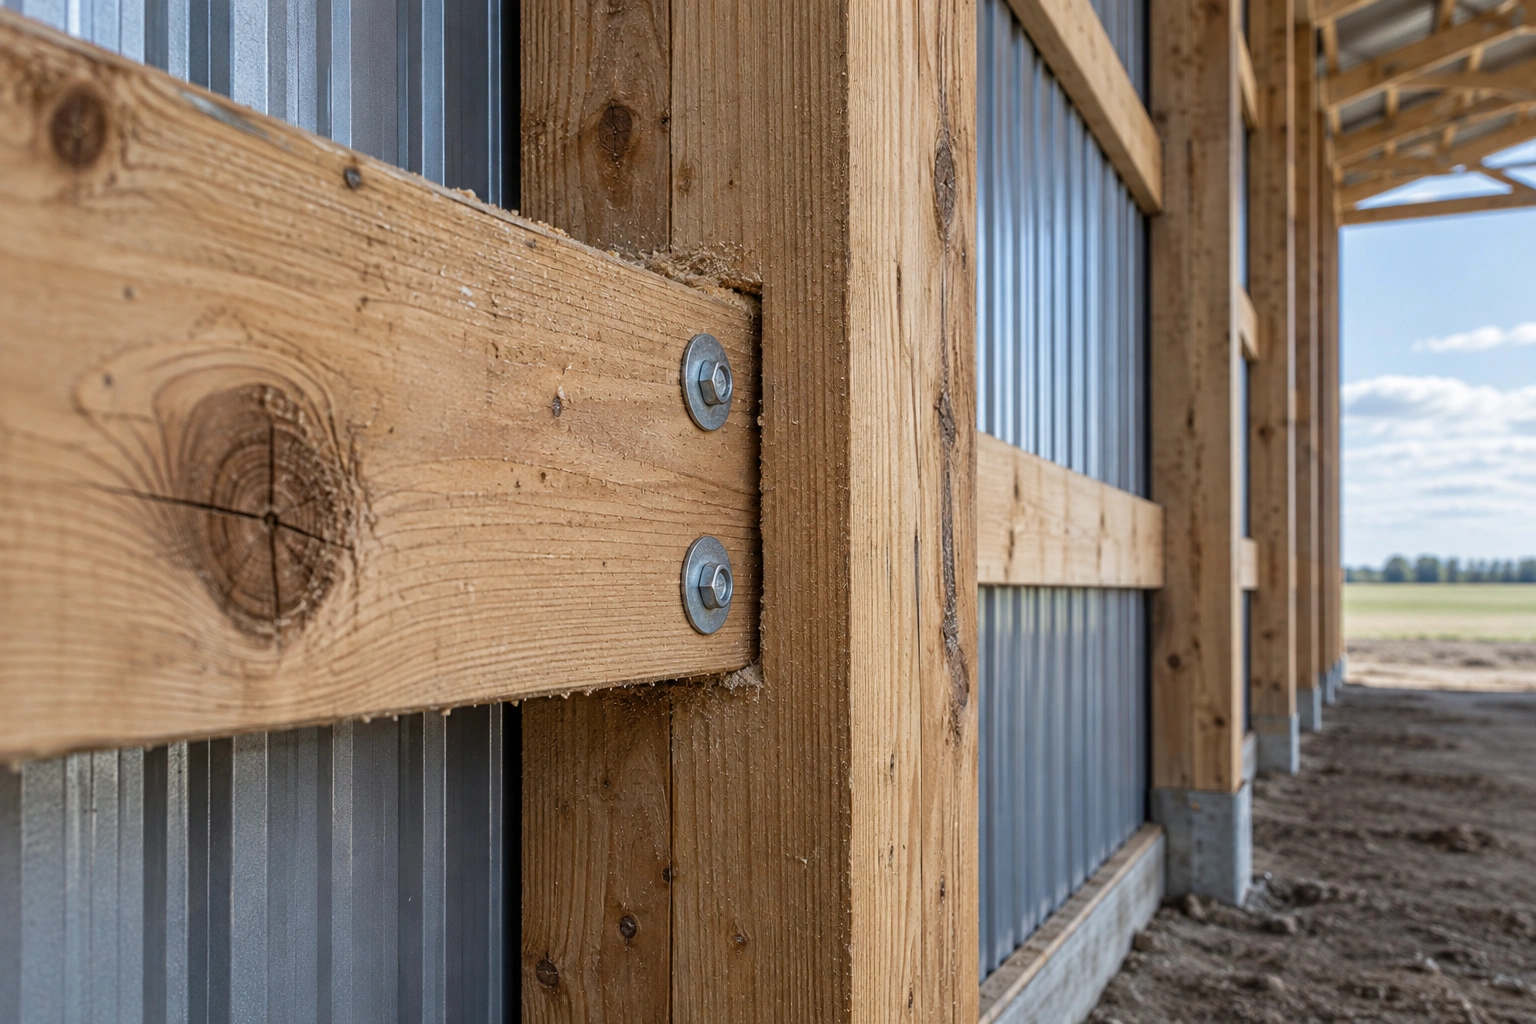
Post spacing is a design output rather than a preference. Wider spacing means fewer, larger columns and heavier girts and purlins spanning between them. Narrower spacing means more columns and lighter members. Which one is cheaper depends on the loads, the wall height and the local price of lumber on the day.
What does not change is that the spacing has to be consistent with what the girts, purlins and trusses were designed for. Stretching a bay to avoid an obstruction without checking the members is one of the more common quiet mistakes in this trade.
Framing economics
People often ask whether closer post spacing is stronger. It is not automatically. A building at eight feet on centre and one at twelve can be engineered to identical capacity; the difference is how the material is distributed. What changes is usable wall between posts, the cost of the girts and purlins, and the erection time.
Where spacing genuinely matters is when something has to hang off the wall, or a door has to land in a particular place. Then it becomes a layout decision rather than an economic one.
Framing specification
What we use and why.
Laminated or solid
Three and four-ply laminated columns for taller walls and wider spacing, solid treated timber where loads allow. Ground-contact rated below grade.
2x6 on the flat or on edge
Sized and oriented for the cladding, the wind load and the insulation the cavity has to hold.
2x6 or 2x8 on edge
Hung in hangers or lapped over the truss top chord, never laid flat.
Permanent and temporary
Truss web bracing and roof plane bracing per the truss drawings, plus temporary bracing until the diaphragm is complete.
What goes wrong, and what we do instead
| What goes wrong | What it causes | What we do instead |
|---|---|---|
| Purlins laid flat instead of on edge | The roof loses stiffness, panels deflect between trusses, and fastener holes elongate over time. | Purlins on edge in hangers or lapped over the top chord, sized for the spacing. |
| Permanent truss bracing omitted because the frame stood up without it | Truss web members can buckle under design load, which is precisely the condition the bracing exists for. | Bracing installed exactly as shown on the truss drawings, before the roof goes on. |
| Uplift ties substituted for whatever was on the truck | Connection capacity reduced below the design uplift, invisible until a high wind event. | Specified connectors sourced and fitted, with substitutions only where the engineer approves an equivalent. |
Four framing details that matter more than they look
These are the ones worth asking any builder about.
- Truss bracing per the engineer's drawings
Truss drawings specify permanent web bracing and lateral restraint. It is frequently skipped because the building stands up without it. It is there for the load case, not for erection.
- The roof diaphragm
Once the roof steel is screwed down on a set pattern, it acts as a structural diaphragm carrying lateral load to the walls. Change the fastener pattern and you change the structure, which is why panels are not just screwed on wherever is convenient.
- Column splices and grade transitions
Where a laminated column changes from treated to untreated above grade, that joint has to be made properly and positioned above the finished floor or backfill level.
- Notching and drilling
Girts and columns can be notched and drilled within limits. Beyond those limits you have removed capacity. It gets checked rather than assumed.
Framing sequence
- Step 01Verify the columns
Plumb, line and height confirmed across the whole building before any load goes on.
- Step 02Set trusses
Lifted, seated in brackets, plumbed and temporarily braced as each one lands.
- Step 03Purlins and permanent bracing
Purlins on edge across the trusses, with the permanent bracing shown on the truss drawings installed.
- Step 04Girts and openings
Wall girts run, door and window openings framed with their headers and jamb columns.
How we build it, and how it usually gets built
How it usually gets built
Nail the trusses down, run the purlins flat because they lie nicely, and brace it when there is time.
How we build it
Fit the specified truss brackets and uplift ties at every bearing, run purlins on edge, and brace as the frame goes up.
Before framing starts
The frame goes up fast when these are sorted.
- Columns set, cured and checked
Footings gained strength, backfill compacted, and every column verified plumb and on line before loading it.
- Truss drawings on site
The bracing and connection information lives on those drawings and the crew needs them in hand.
- Lift access planned
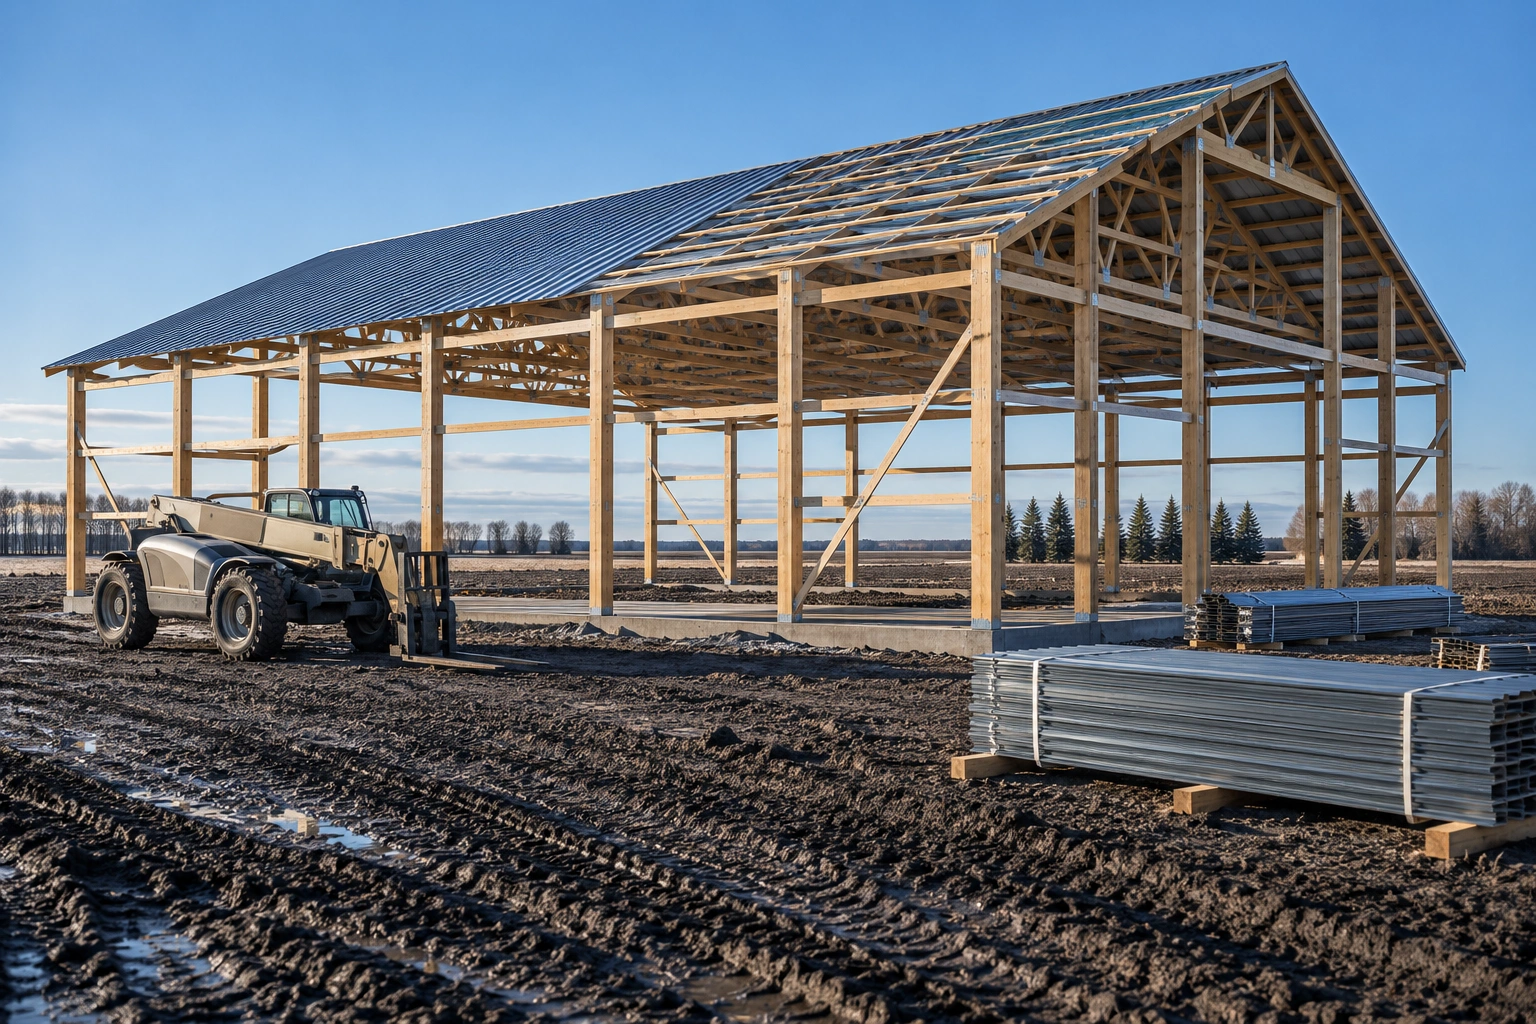
A telehandler or crane needs firm ground and swing room on the right side of the building.
- Weather window for the roof
Once the trusses are up you want the roof on promptly. Framing and roofing are planned as one operation.
Common questions
What post spacing do you use?
It depends on the loads, the wall height and the openings, and it typically lands between eight and twelve feet on centre. Wider spacing suits tall buildings with big doors. Closer spacing suits buildings where things hang off the walls. We work it out rather than defaulting.
Are laminated columns better than solid ones?
They are different rather than simply better. Laminated columns are more dimensionally stable, available in longer lengths and higher capacities, and let you use treated material only below grade. Solid columns are perfectly adequate on smaller buildings with lower loads.
Do purlins really need to be on edge?
Yes. A member on edge is far stiffer than the same member laid flat, and the roof design assumes it. Flat purlins are a shortcut we see on older buildings, and it shows up as deflection and fastener movement under snow load.
Can you frame around an existing structure?
Often, yes, but the existing building has to be checked first, particularly for drift loading if one roof is taller than the other. We look at the existing frame before we design anything attached to it.
Do you use the trusses the supplier sends or specify your own?
We specify to the loads and the span, and the truss manufacturer engineers and stamps them. What we will not do is use a truss designed for a different load case because it was available.
Is a framing quote free?
Yes. Where framing is part of a full build we quote it as a line so you can see it. Where you want framing only, we will quote that too, though we will want to see whatever foundation it is landing on.
Do I need to be around during framing?
Not really. Framing is the fastest and least decision-heavy stage of the build. The decisions were made at design; this is execution.
Can you frame to drawings I already have?
Yes, and we will read them properly first. If something in them does not stack up against the loads for your site, we will tell you before we start rather than building it and saying nothing. Where the drawings are sound, working to someone else's design is straightforward and we have no particular attachment to producing our own.
Do the truss drawings have to go in with the application?
Yes, and a complete set including the layout rather than a single sheet. The truss drawings carry the design loads, the bracing requirements and the connection information on their face, which is exactly what a reviewer needs in order to check the structure. A submission without them is one of the more common reasons an application comes back.
Other things we build
 Pole Barn ConstructionStart to finish post-frame building, from the first hole to the final trim screw.
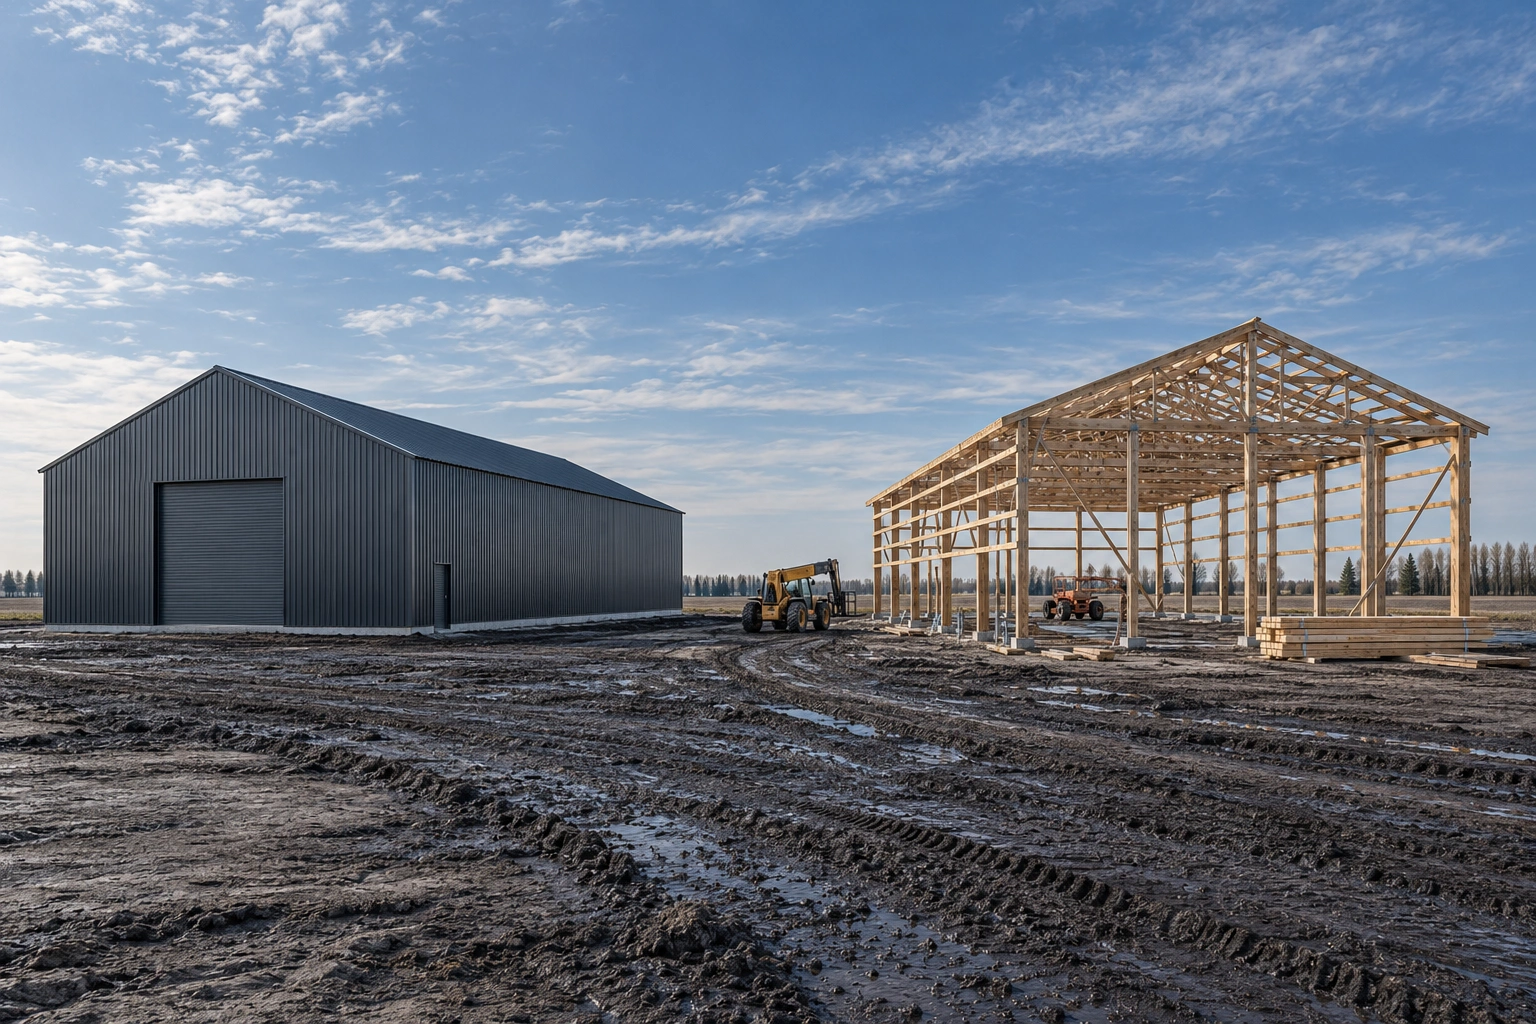 Post-Frame Building ConstructionThe structural method itself, explained properly, and where it beats the alternatives.
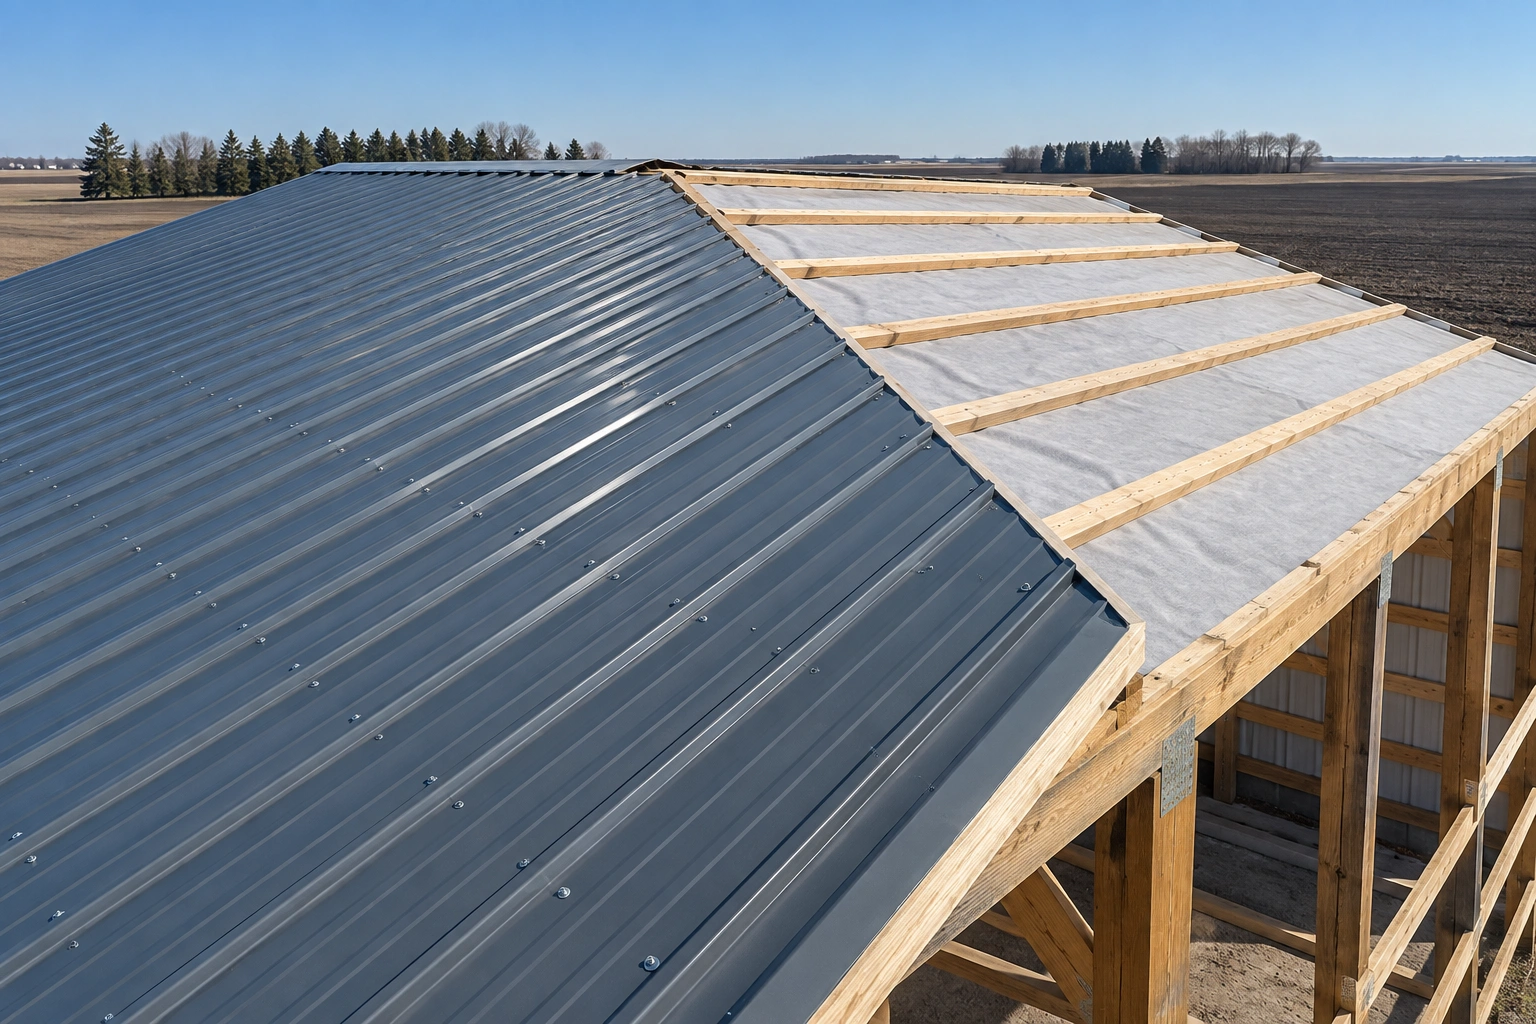 Pole Barn Roofing InstallationSteel roofing fastened to a pattern, flashed at the details, and vented so it does not sweat.
Frame it properly the first time
Whether it is a full build or framing on an existing foundation, send us the drawings and we will quote it against the connection schedule.